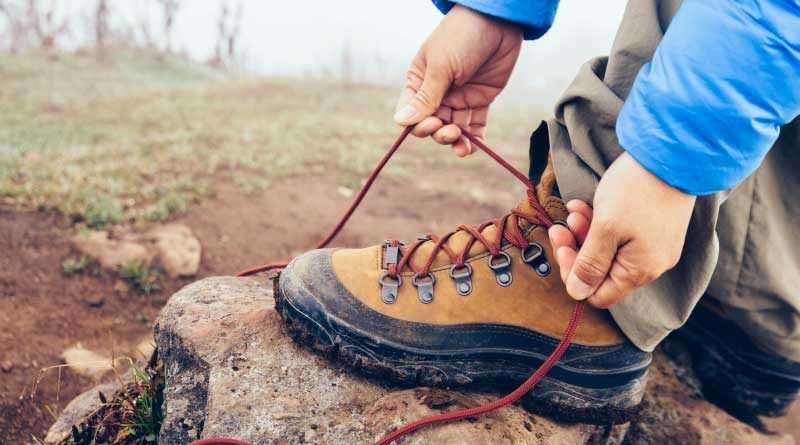
You may not have thought that tying your all-terrain hiking books is one of the skills you need to master before going on that hike. There are more than a dozen ways to lace your hiking boots. Knowing the different tying techniques can help your boots’ fit and performance. Changing your lacing in the middle of a hike reduces pressure points and prevents blisters.
Here are some essential lacing types that prevent blisters and injuries:
The Surgeon’s Knot. Instead of tying a square knot with one loop, wrap the strands around each other twice. Just pull the laces tight once you’re done with the double wrap. This knot prevents the laces from sliding against each other and loosening after some time. You can use this to prevent the hiking boots from becoming untied.
Heel-Lock Lacing. This prevents your heel from slipping inside the hiking boot, which causes heel blisters. This technique locks your boot in place at the heel.
Tie your lace normally at the top of your foot.
Identify the eyelets at the base of your ankle.
Thread the end of one lace across the flex point, then connect it to the lower of the two hooks.
Wrap the opposing lace twice across the top of your foot, then thread it into the lower hook across the upper of the two flex-point hooks.
Wrap the first lace twice around the second one across the bridge of your foot, then continue to lace as normal.
Toe-Relief Lacing. This gives you more room in the toe-box, which reduces pressure and rubbing, and prevents blisters in the toes.
Unlace your boots.
Re-lace, but start at the second row of hooks rather than starting from the first row.
Window Lacing. This is used to relieve pressure across the top of the foot. Some all-terrain hiking boots press in this area if your feet are swollen or if you have high arches.
Identify the hooks where the pressure is.
Unlace the boots up to the pair of eyelets where the pressure is.
Re-thread them up the side, up to the hook above the pressure point.
Resume crossing the laces and threads as normal.
Loop. If you have low-cut or running shoes, the marathon loop is okay. At the top hook, pull the lace through from the eyelet directly below, creating a loop. Take the lace and bring it across the shoe, pulling it through the loop on the opposite side.
Overhand Knot. Twist the laces around each other once before bringing the lace through the next hook. This prevents unnecessary slipping off the boot.
D-Ring Lock. Bring the lace through the hook from the top instead of below to apply secure pressure on the lace.
There are many other types of lacing techniques that prevent injuries or blisters from hiking boots. If you bought your all-terrain hiking boots from nordtrailadventure.com Outdoor Adventure Footwear, it’s good to know and practice several of these lacing techniques so that you are ready when needed.


